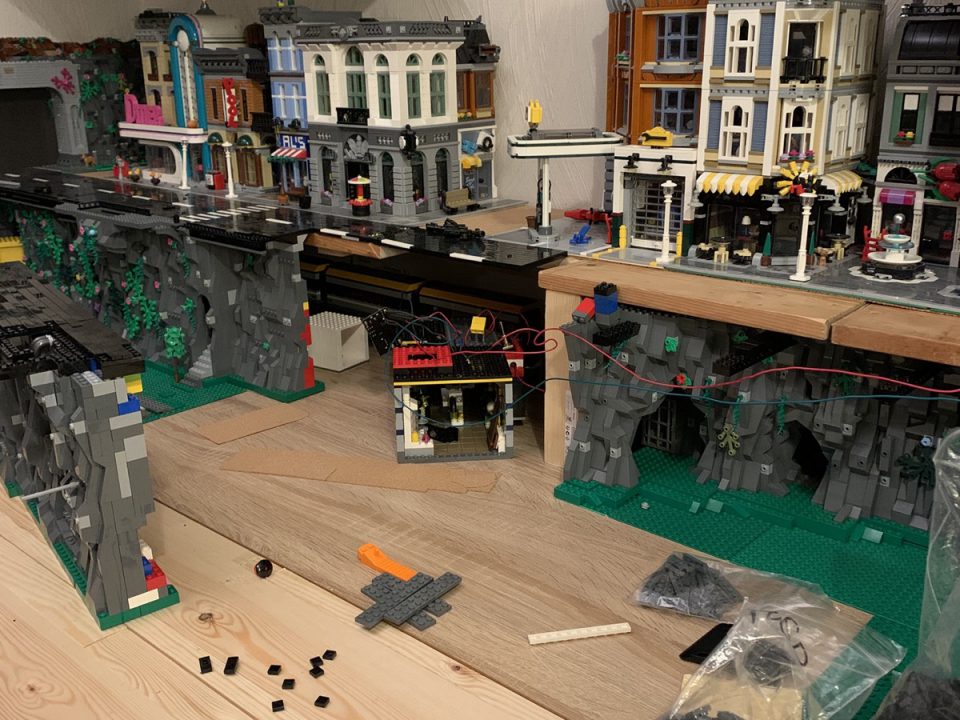
I started writing this blog post almost a year ago but as with a number of other entries, I lost a bunch of content and only recently found my saved drafts squirrelled away in a backup database. It’s kind of weird looking back and knowing how much stuff has changed, but the work I did over Christmas 2020 pretty much set the foundations for the layout in its current state today.
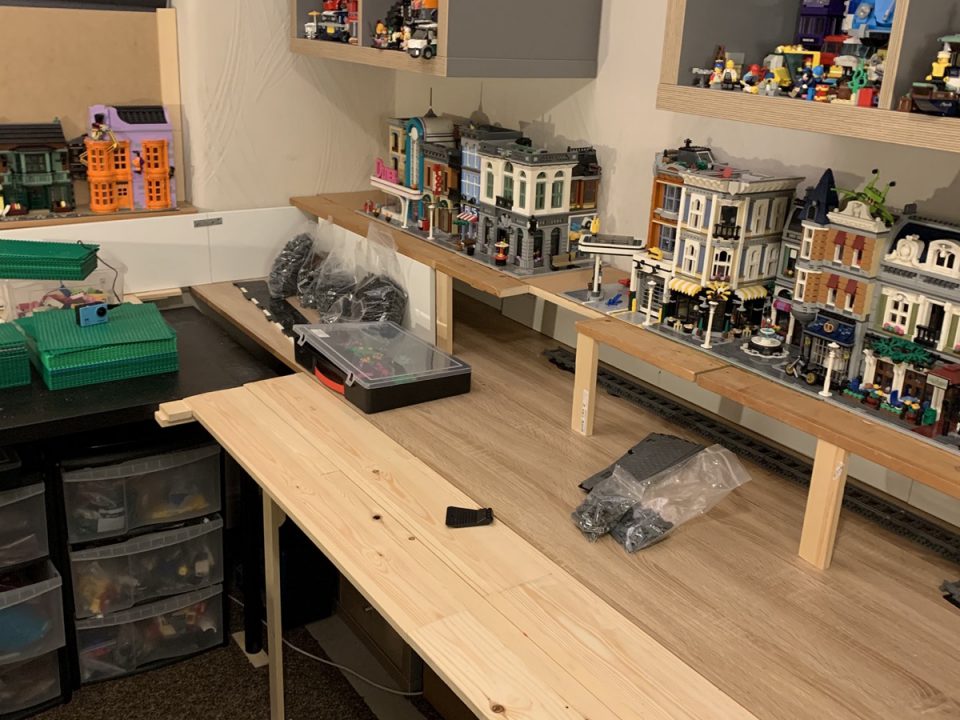
The baseboards I used for the first incarnation of the layout were side panels from an old wardrobe. It only took a month or so to realise they were never going to be deep enough — 66cm is about 82 studs, so just over two baseplates. My first solution was to bolt some blanks to one edge, and then some more on top of that, but inevitably this led to things sagging and not lining up properly. This time around I drew up a proper plan and sent guides over to a builders yard to get some MDF sheets cut to size.
There are tools available which are meant to help with planning layouts, such as BlueBrick, but I prefer making life hard for myself so drew everything out by hand before creating digital versions.

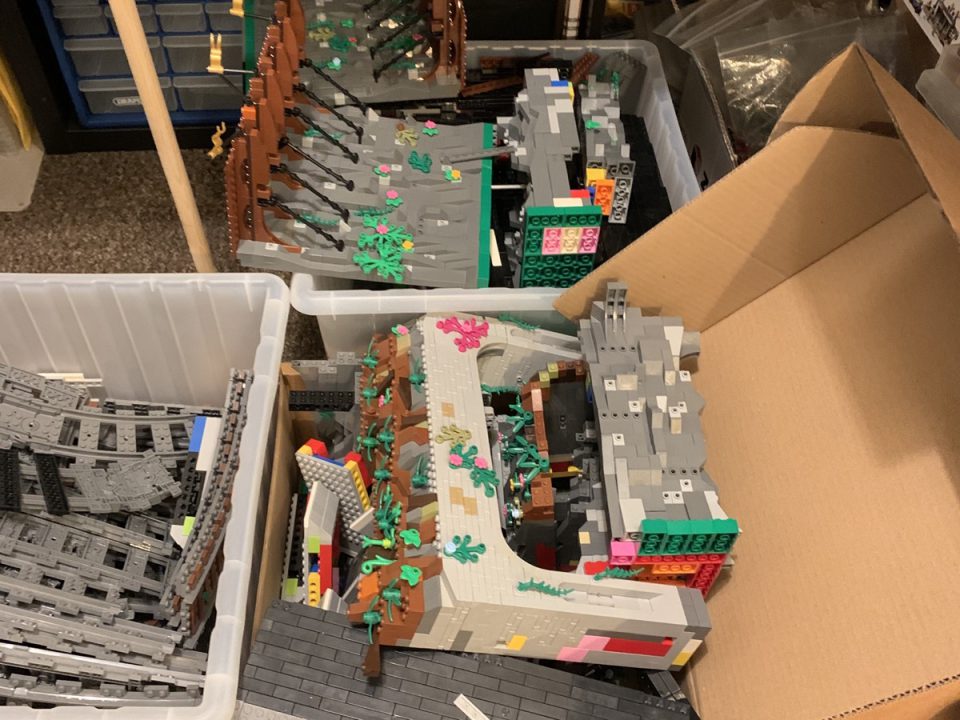
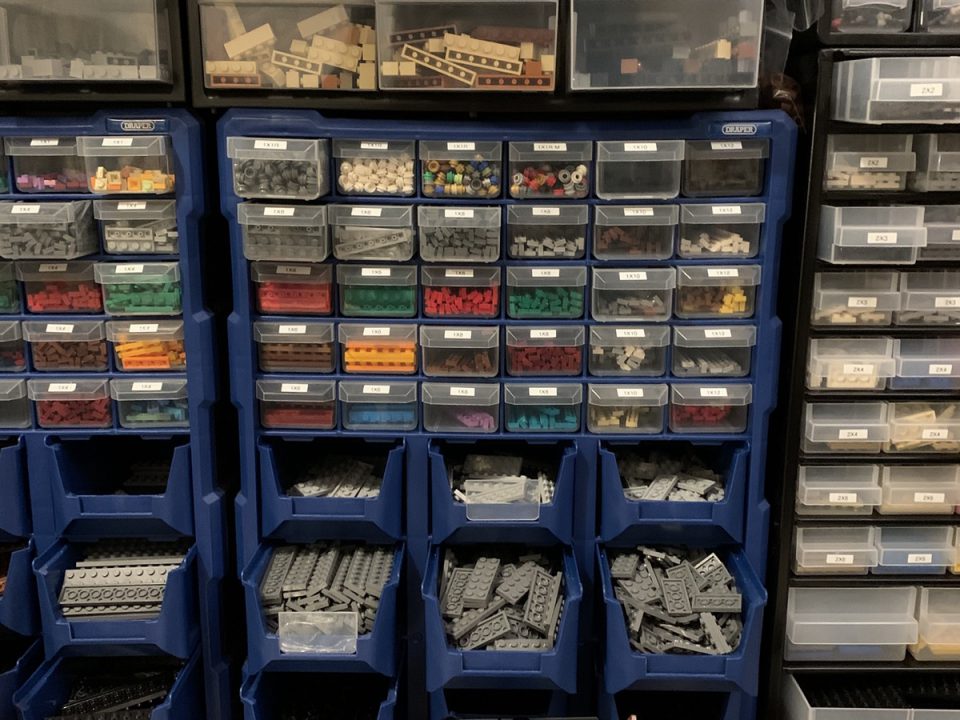
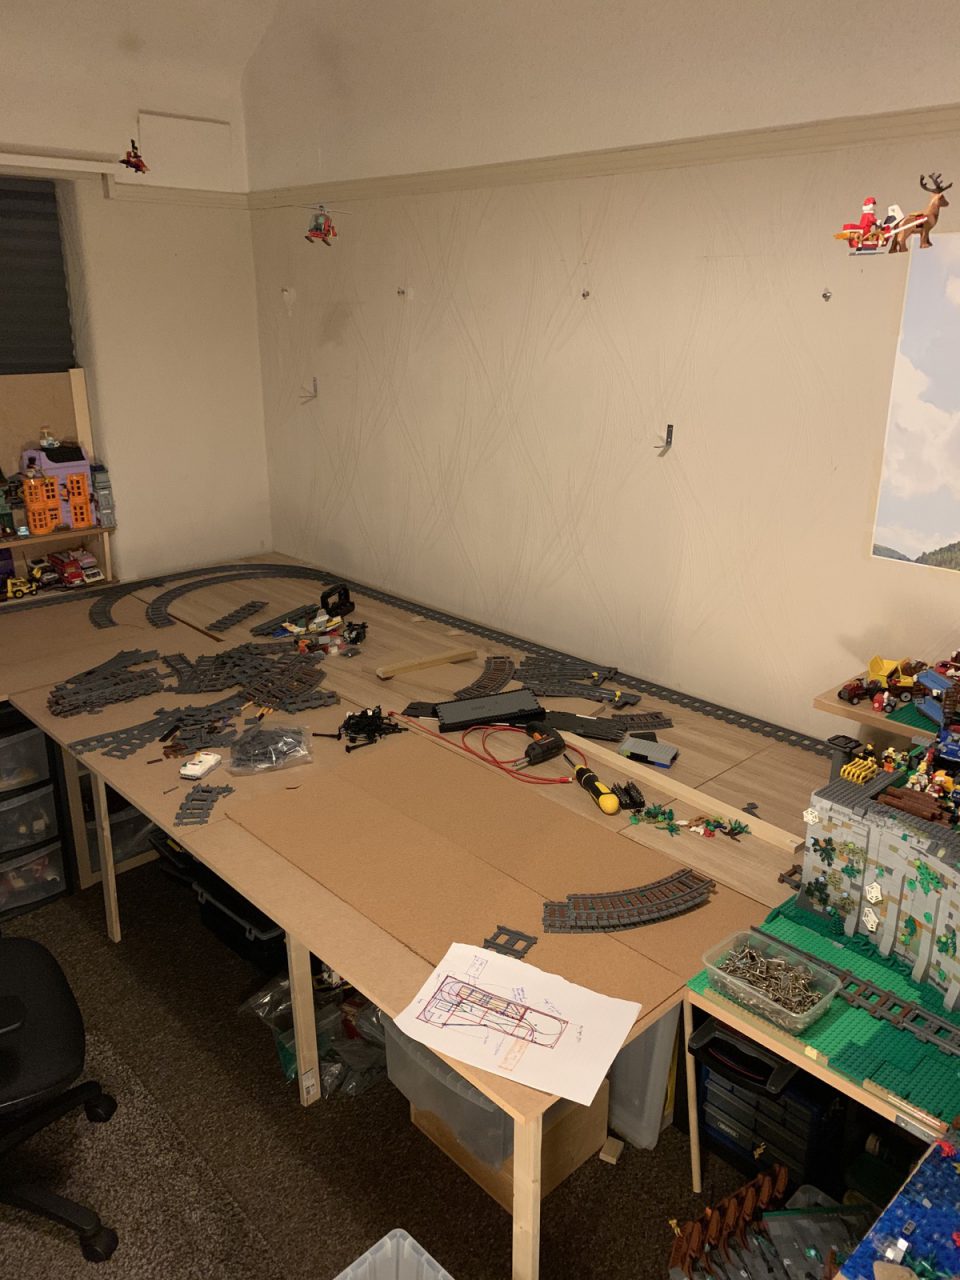
With the plans drawn up and baseboards cut to size, time to start work. It took a couple of days to completely dismantle everything, during which time my parts bins started to look decidedly more healthy. I filled a couple of big storage tubs with old rock modules to be recycled.
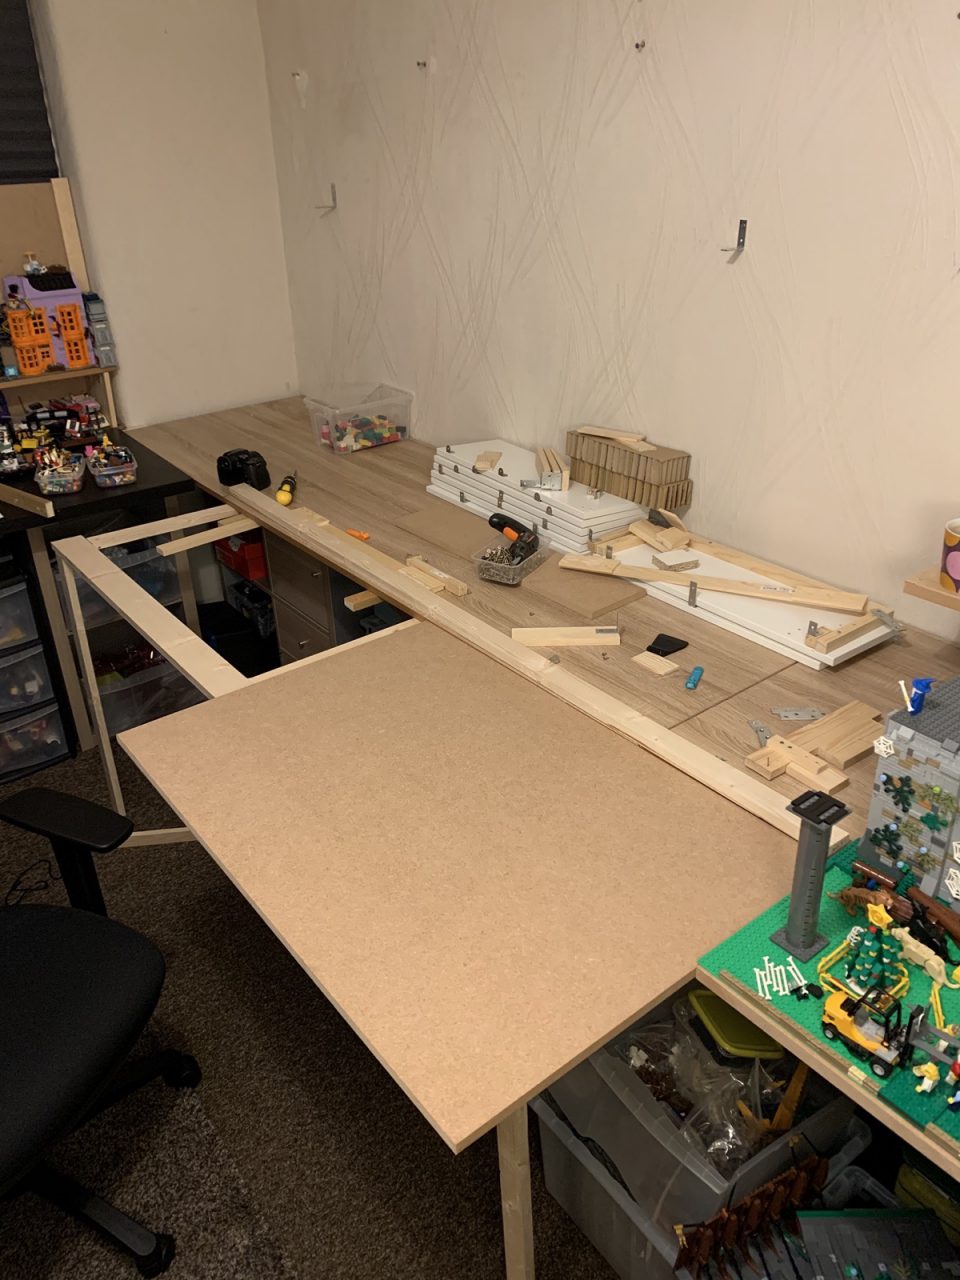
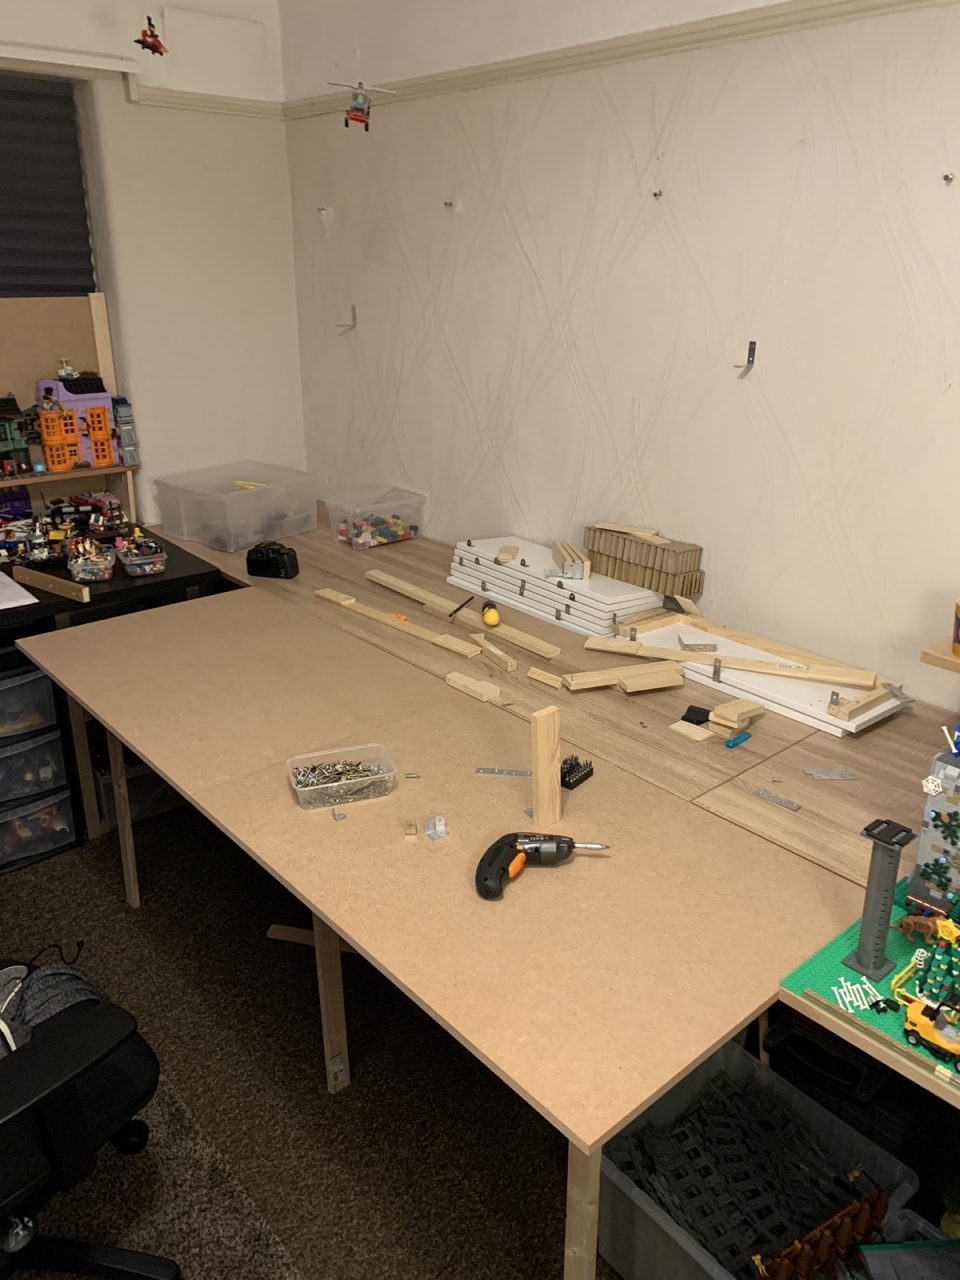
Once the old layout was cleared, I dismantled the old extensions and set about building a frame for the new boards to sit on. At this point I still hadn’t fitted everything together, so seeing the last board slide into place was a big relief. Most of this happened on Christmas Day.
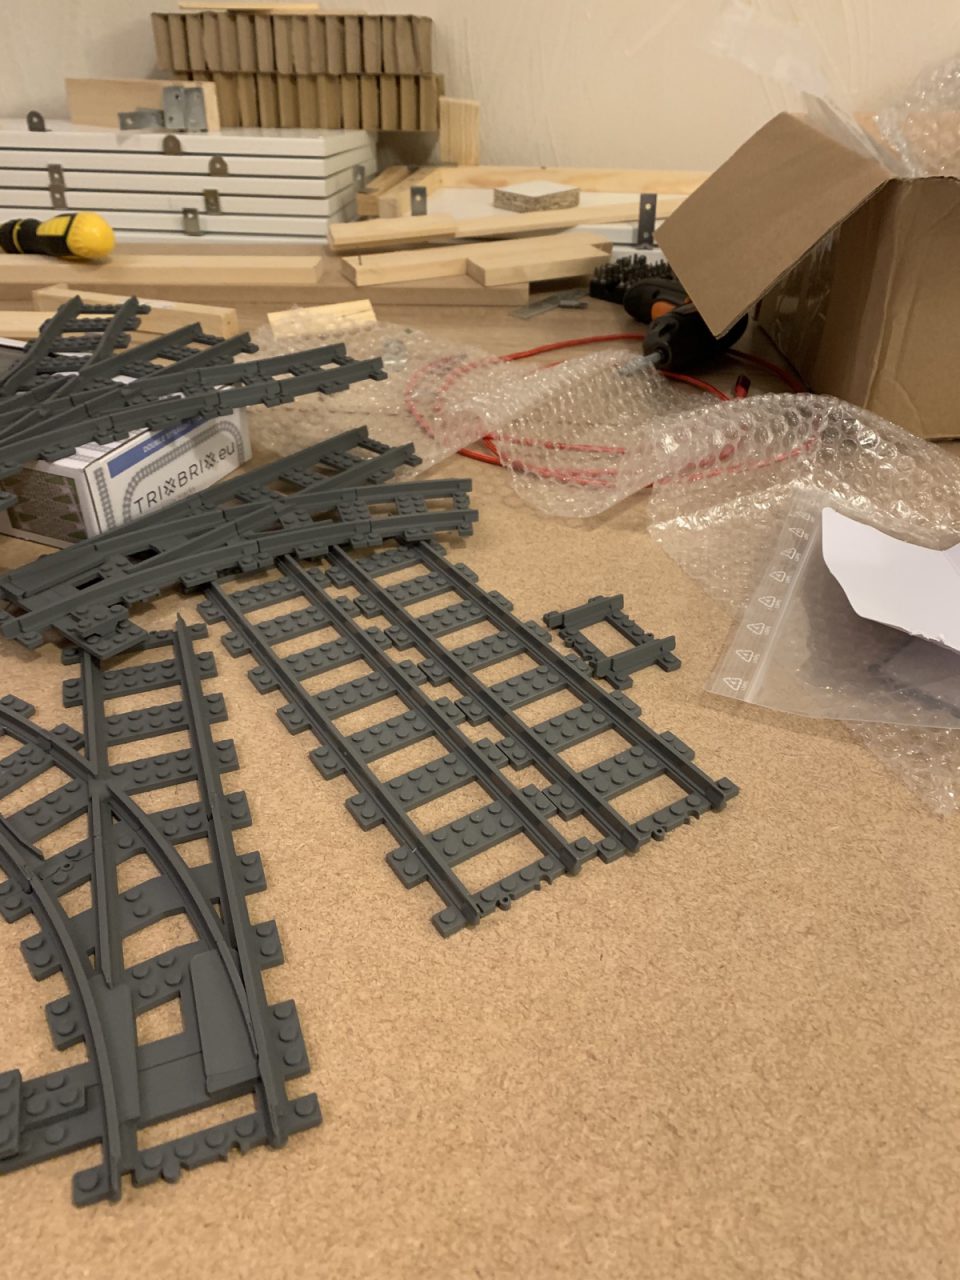
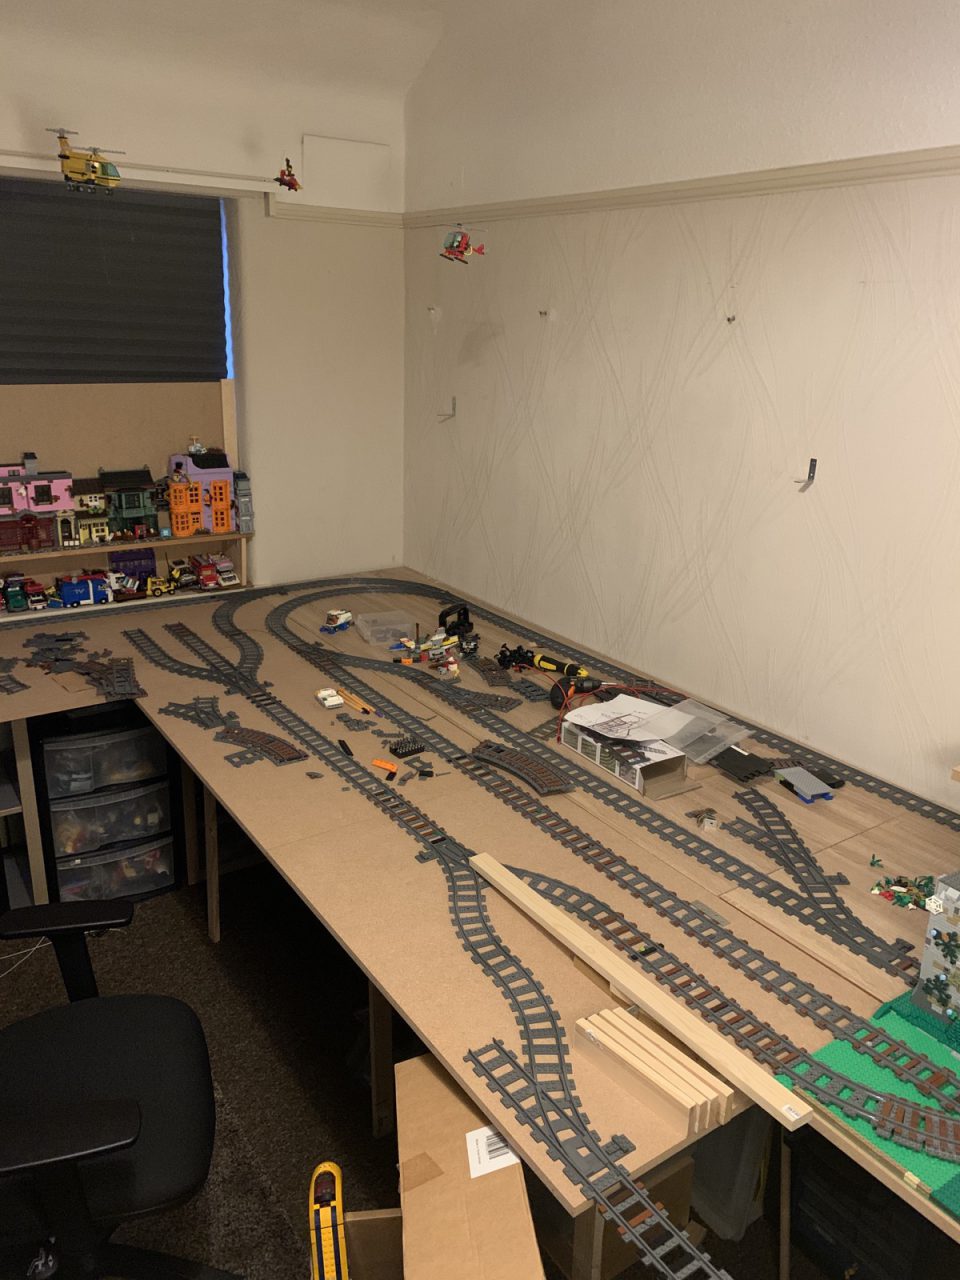
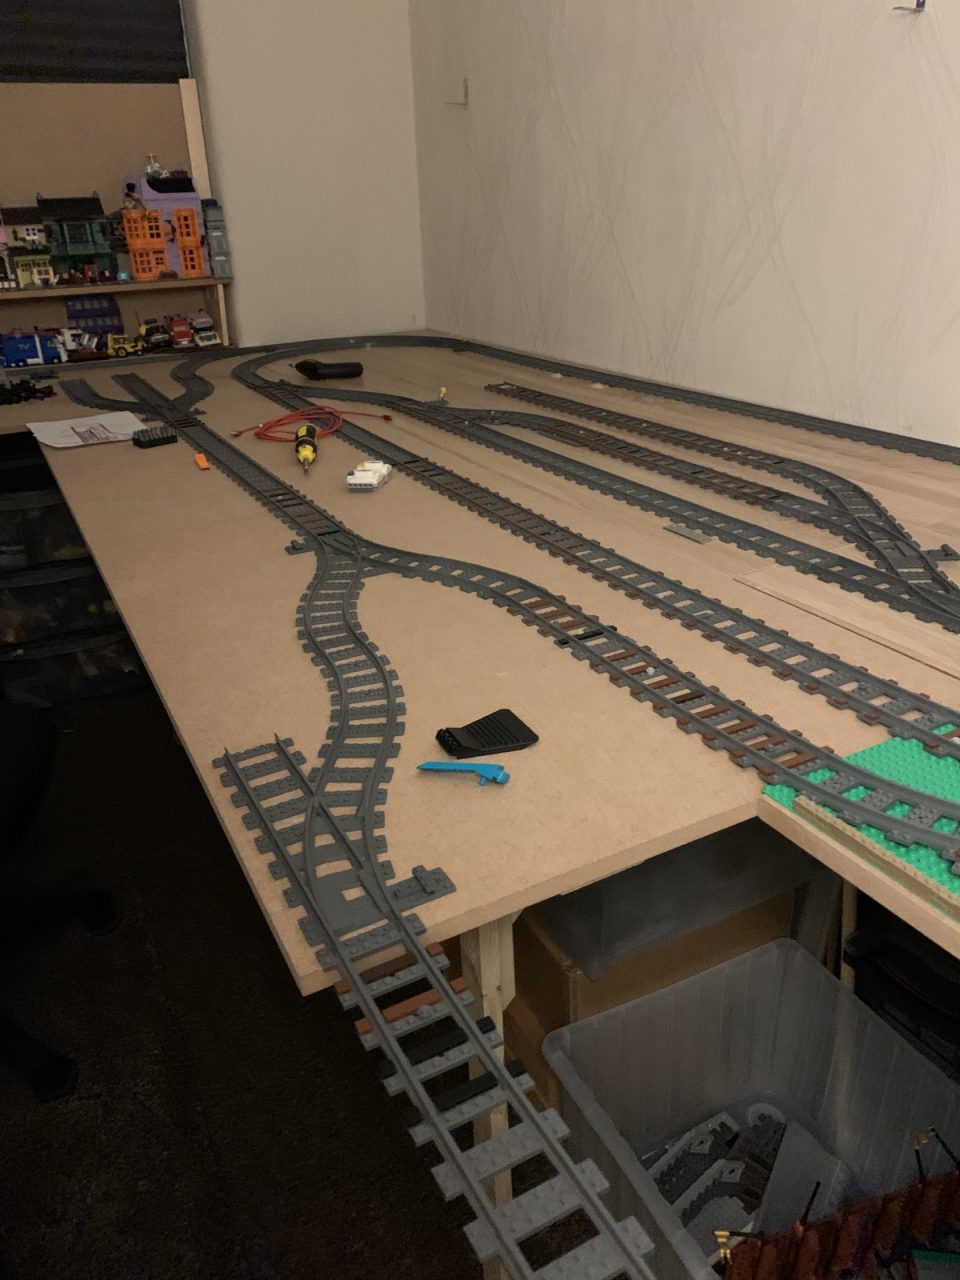
I had a clean slate to work with now and the next job was to lay down some track. I’d bought a box of the TrixBrix injection moulded double length straights which are great for covering a lot of ground fast. A few other TrixBrix goodies had arrived recently as well, including a few much-needed single switches, a wye, a triple and a bunch of one and two stud adapter pieces. By this point Covid and Brexit had made ordering anything from Europe an absolute nightmare so I was glad to see them turn up finally.
Getting the track down didn’t take too long but there were still a few moments of despair where I thought something wouldn’t fit or couldn’t find the right switch. It was mostly complete inside of a day, and after a few successful test runs with some of my trains it was finally time to get some baseplates down and think about ballasting. I generally follow the PennLUG ballasting guides but you do have to go a bit rogue sometimes, especially if you’re dealing with 3D printed track that has little to no clutch power on the underside.
The best way I’ve found to handle weak connections is a tiny dot of Blutack pressed firmly into the offending pieces. I can’t speak for other third party tracks, but TrixBrix switches tend to be very hit and miss as far as antistuds go, especially at the ends of switches, so a little dot of adhesive goes a long way.

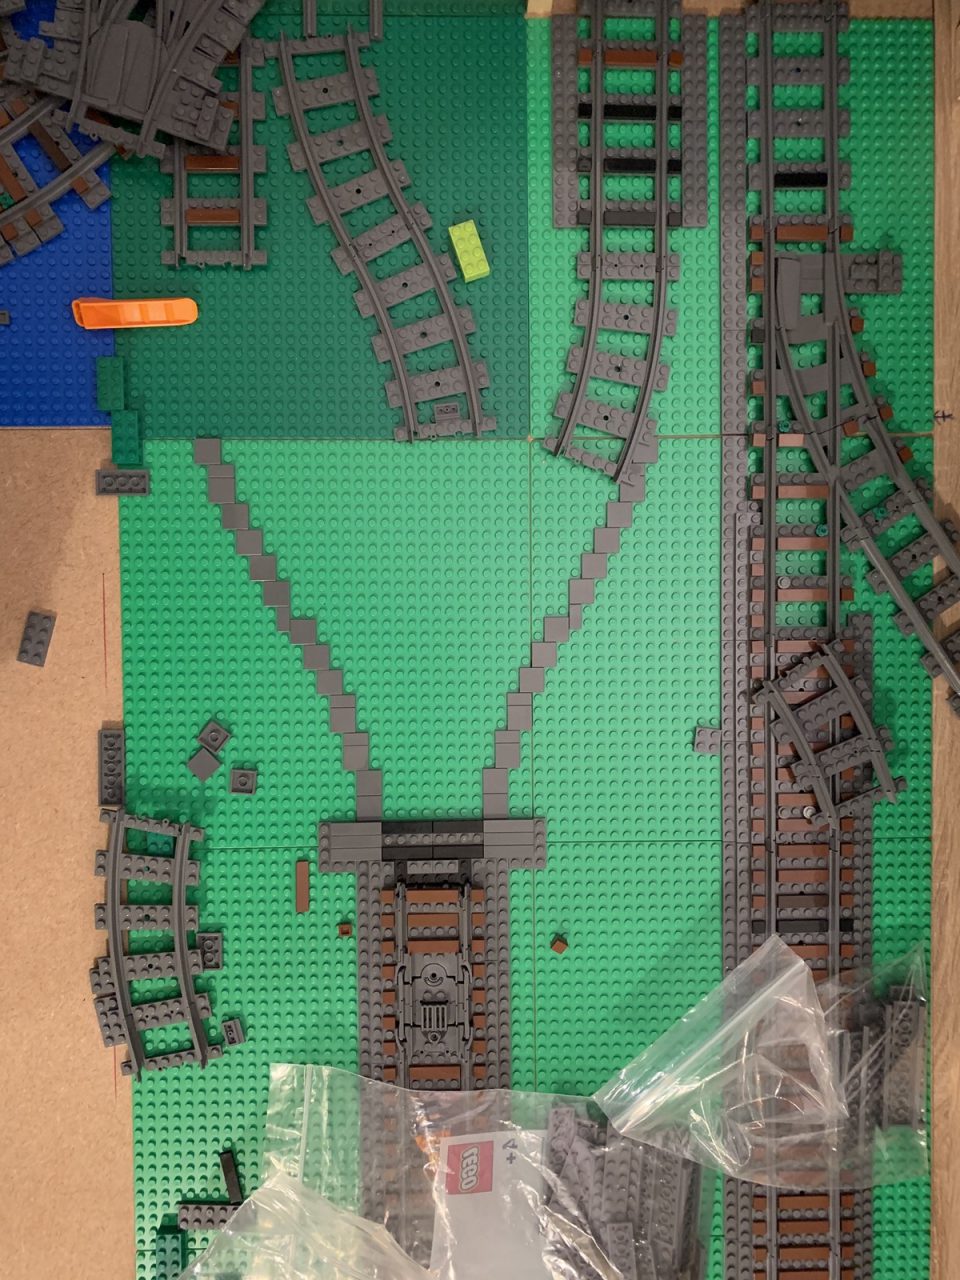
You can see here I’ve started ballasting the straight sections first
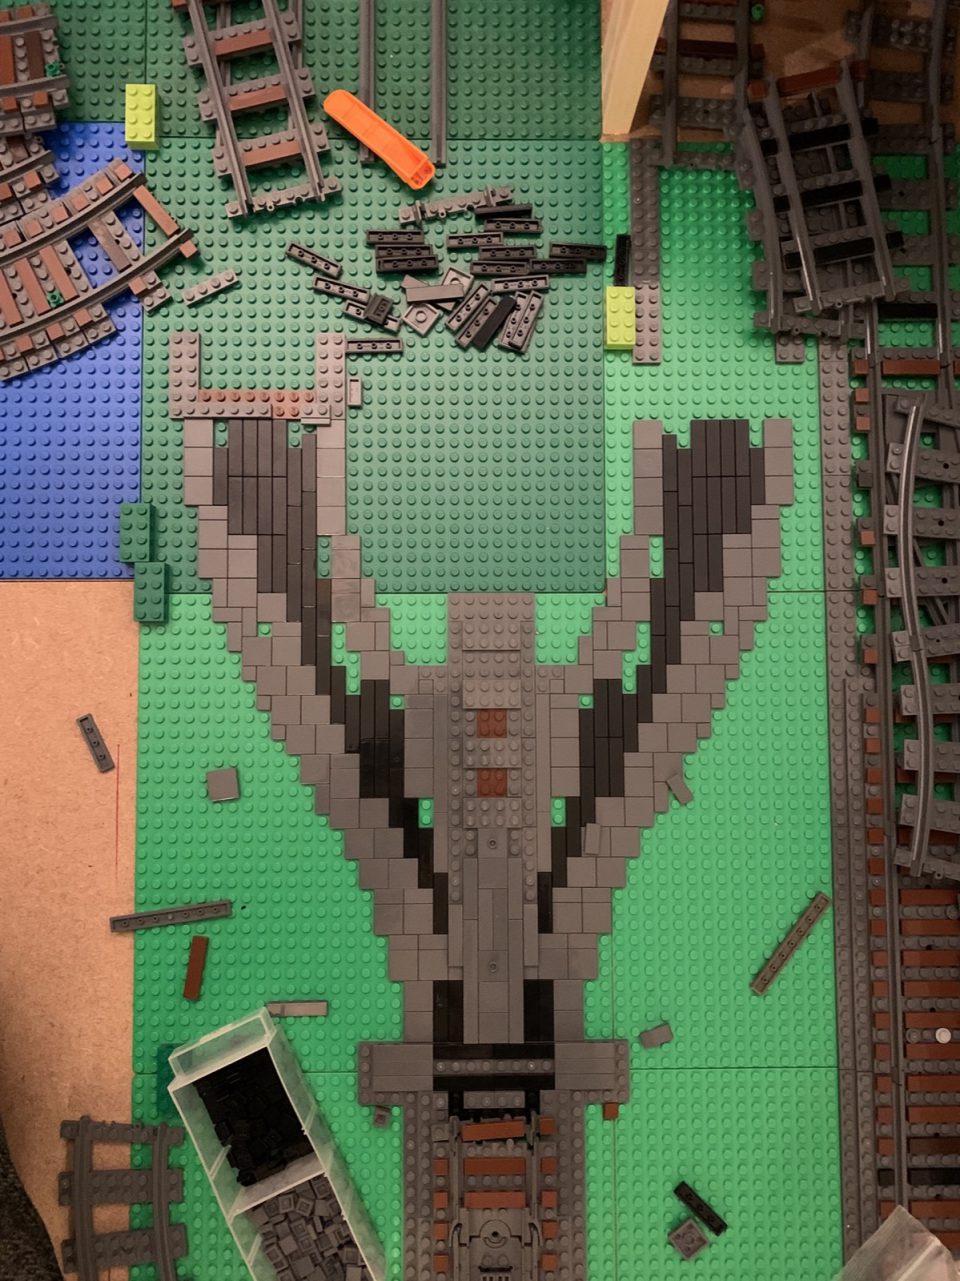
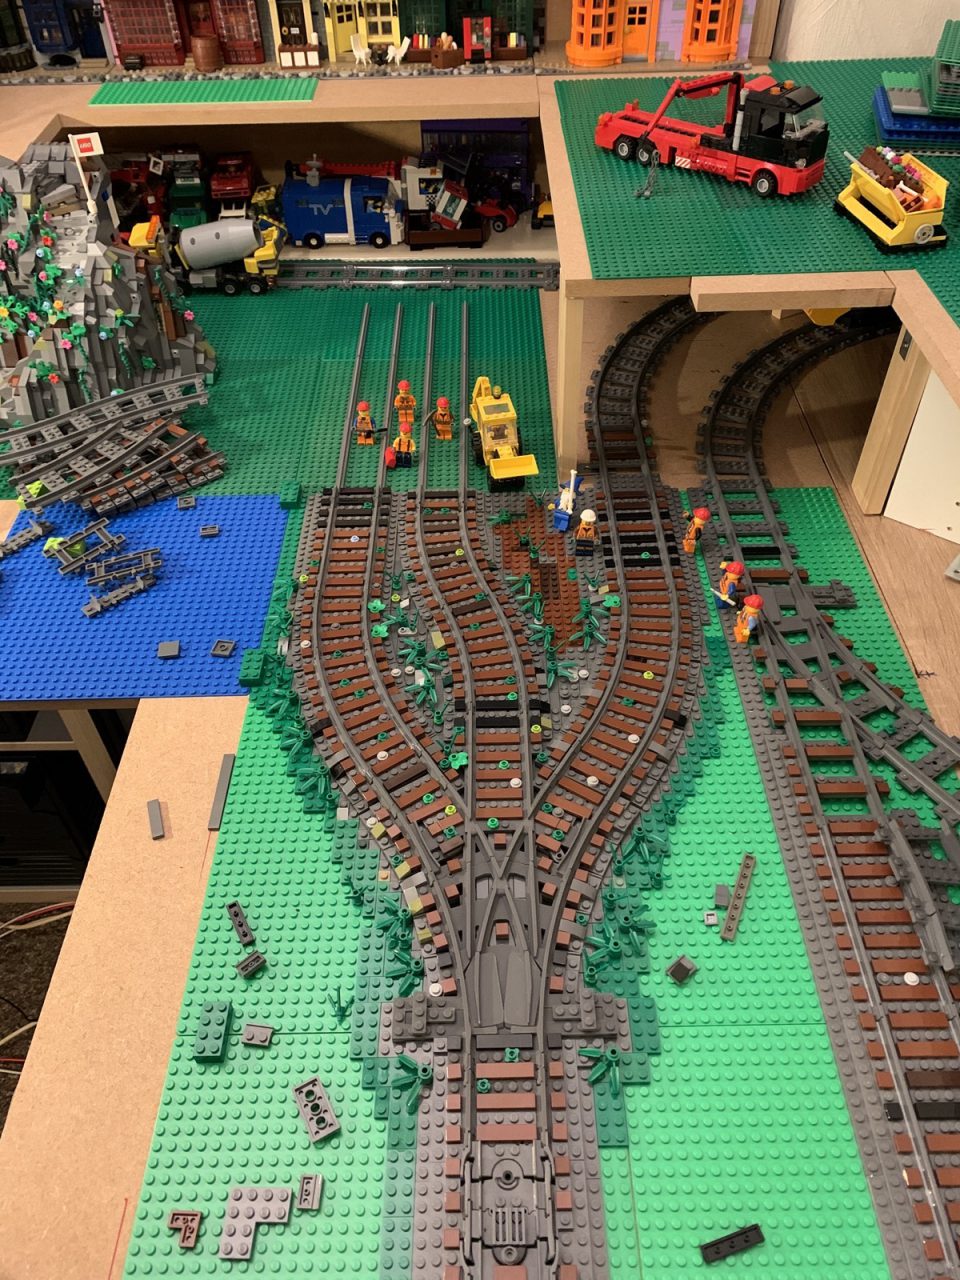
Because of the natural inconsistencies that 3D printing brings with it at least at the lower end of the market, ballasting third party switches can be an infuriating experience. TrixBrix do sell ballast plates which look like they’d be very useful, although I’m yet to try them myself. The photos below show a freshly ballasted wye and triple switch.
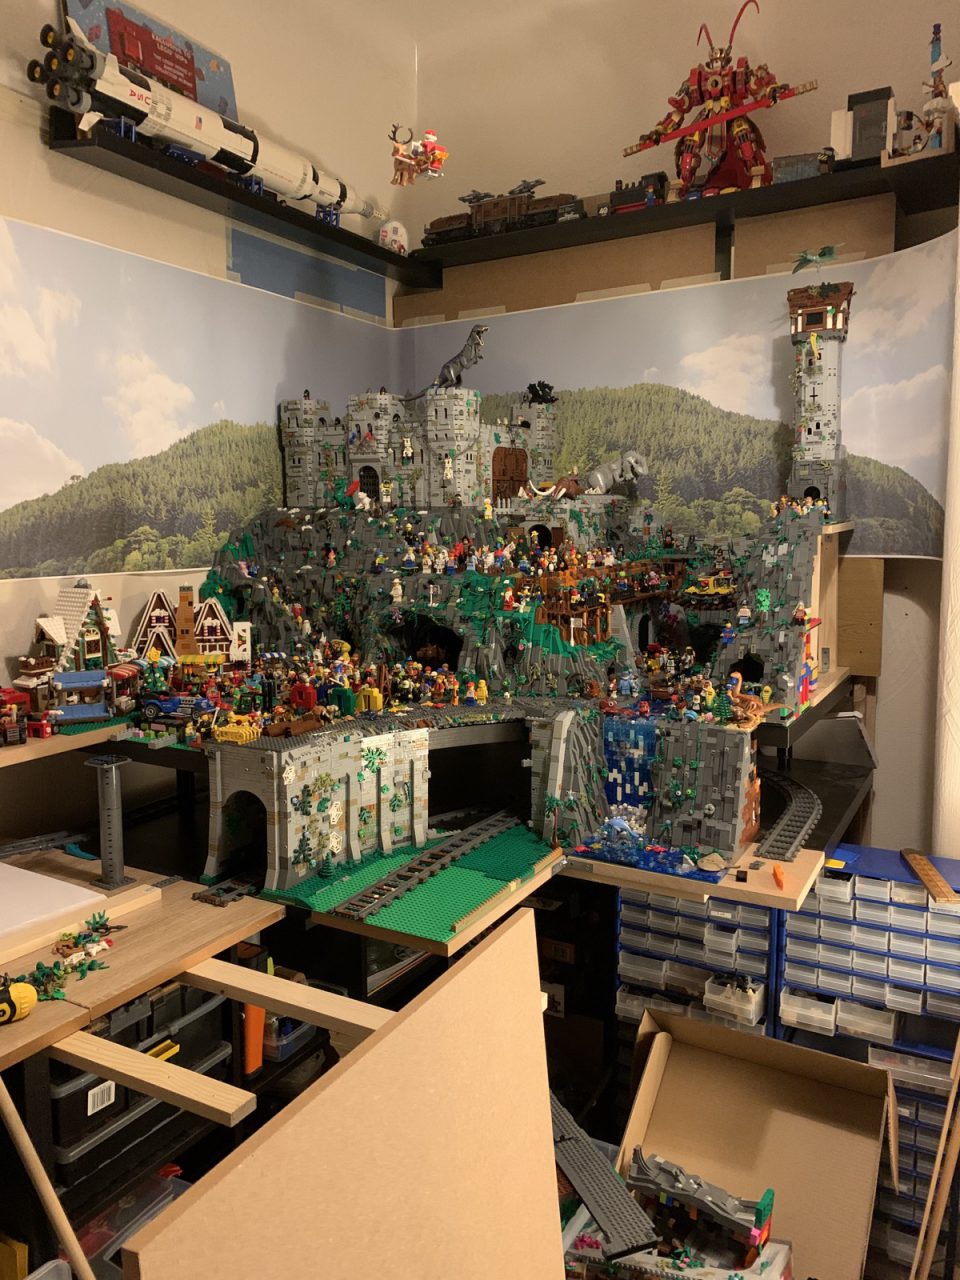
And here’s how everything looked the day before I returned to work. The place still looks like a bomb site but it was pretty good progress for a couple of weeks’ holiday !


